Categories
AR / VR HoloLens Windows

How to set up HoloLens Spectator View, Part 2 – Camera Configuration & Calibration

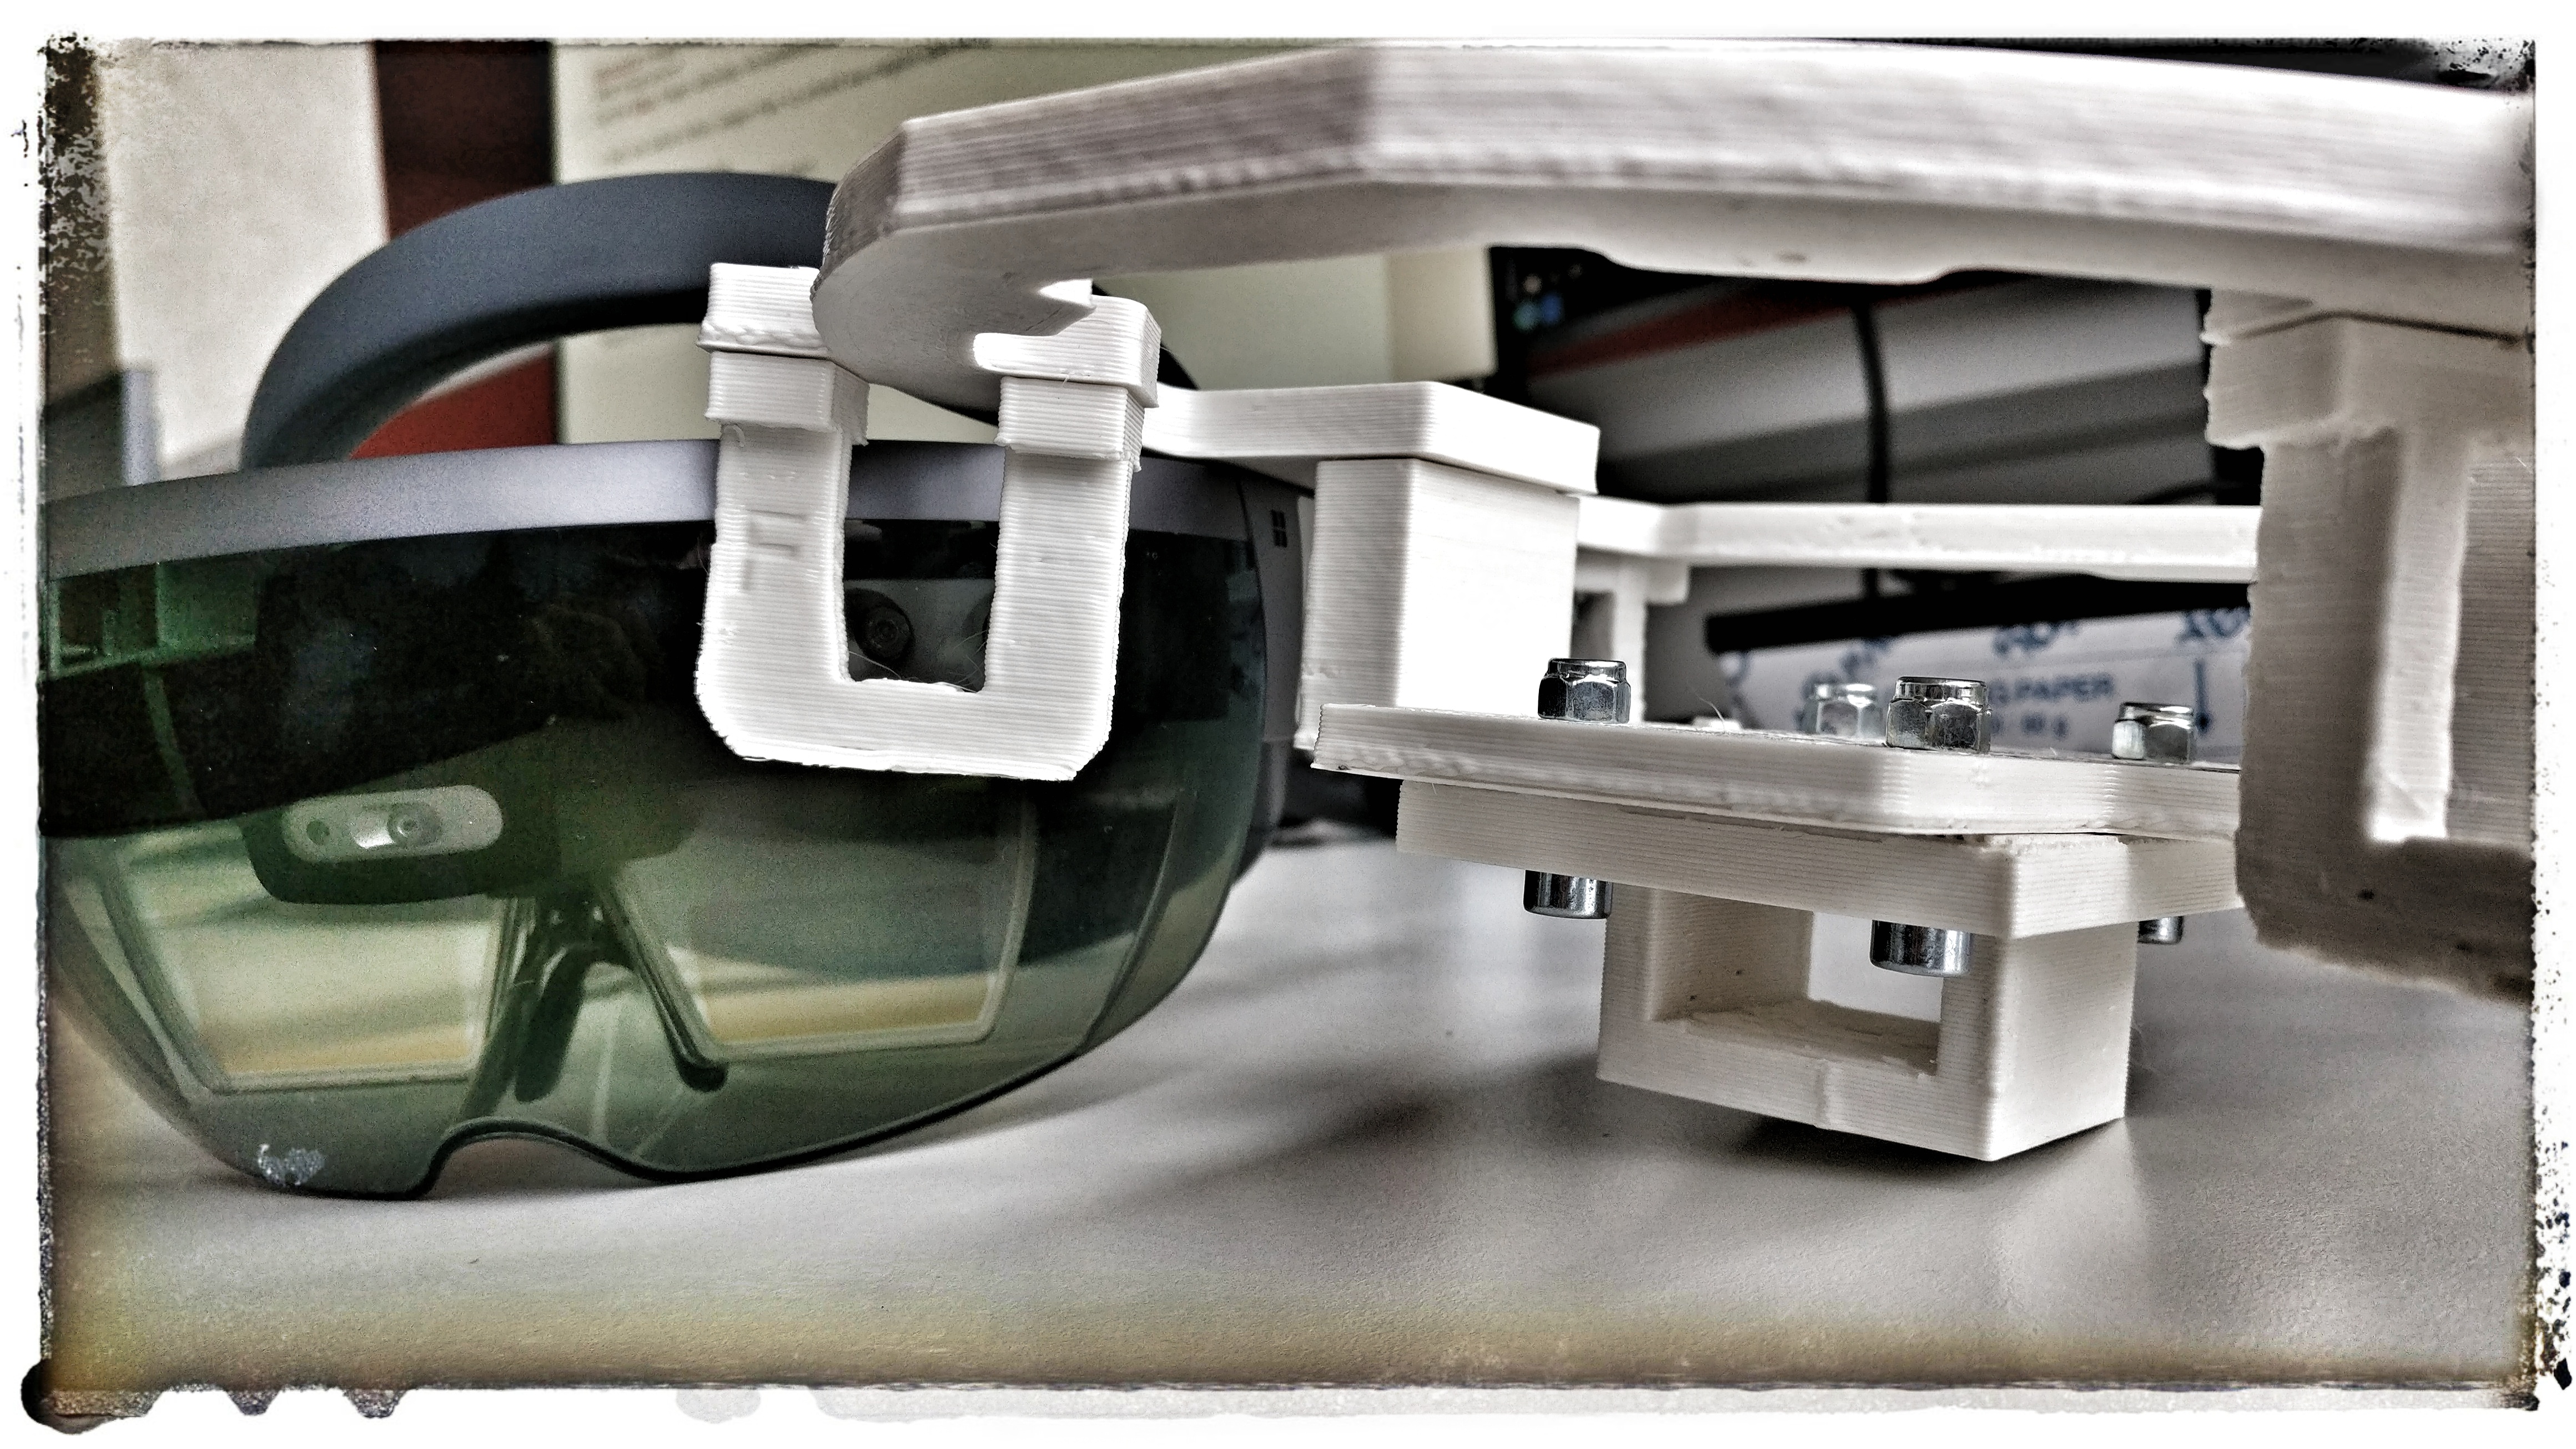
The next step to getting the HoloLens Spectator View to run is the calibration. This needs to be done once after mounting the HoloLens to the DSLR camera. The output is a calibration info file that lists how the position, field of view and other parameters differ between the HoloLens and the DSLR.

Step 4: Camera Setup

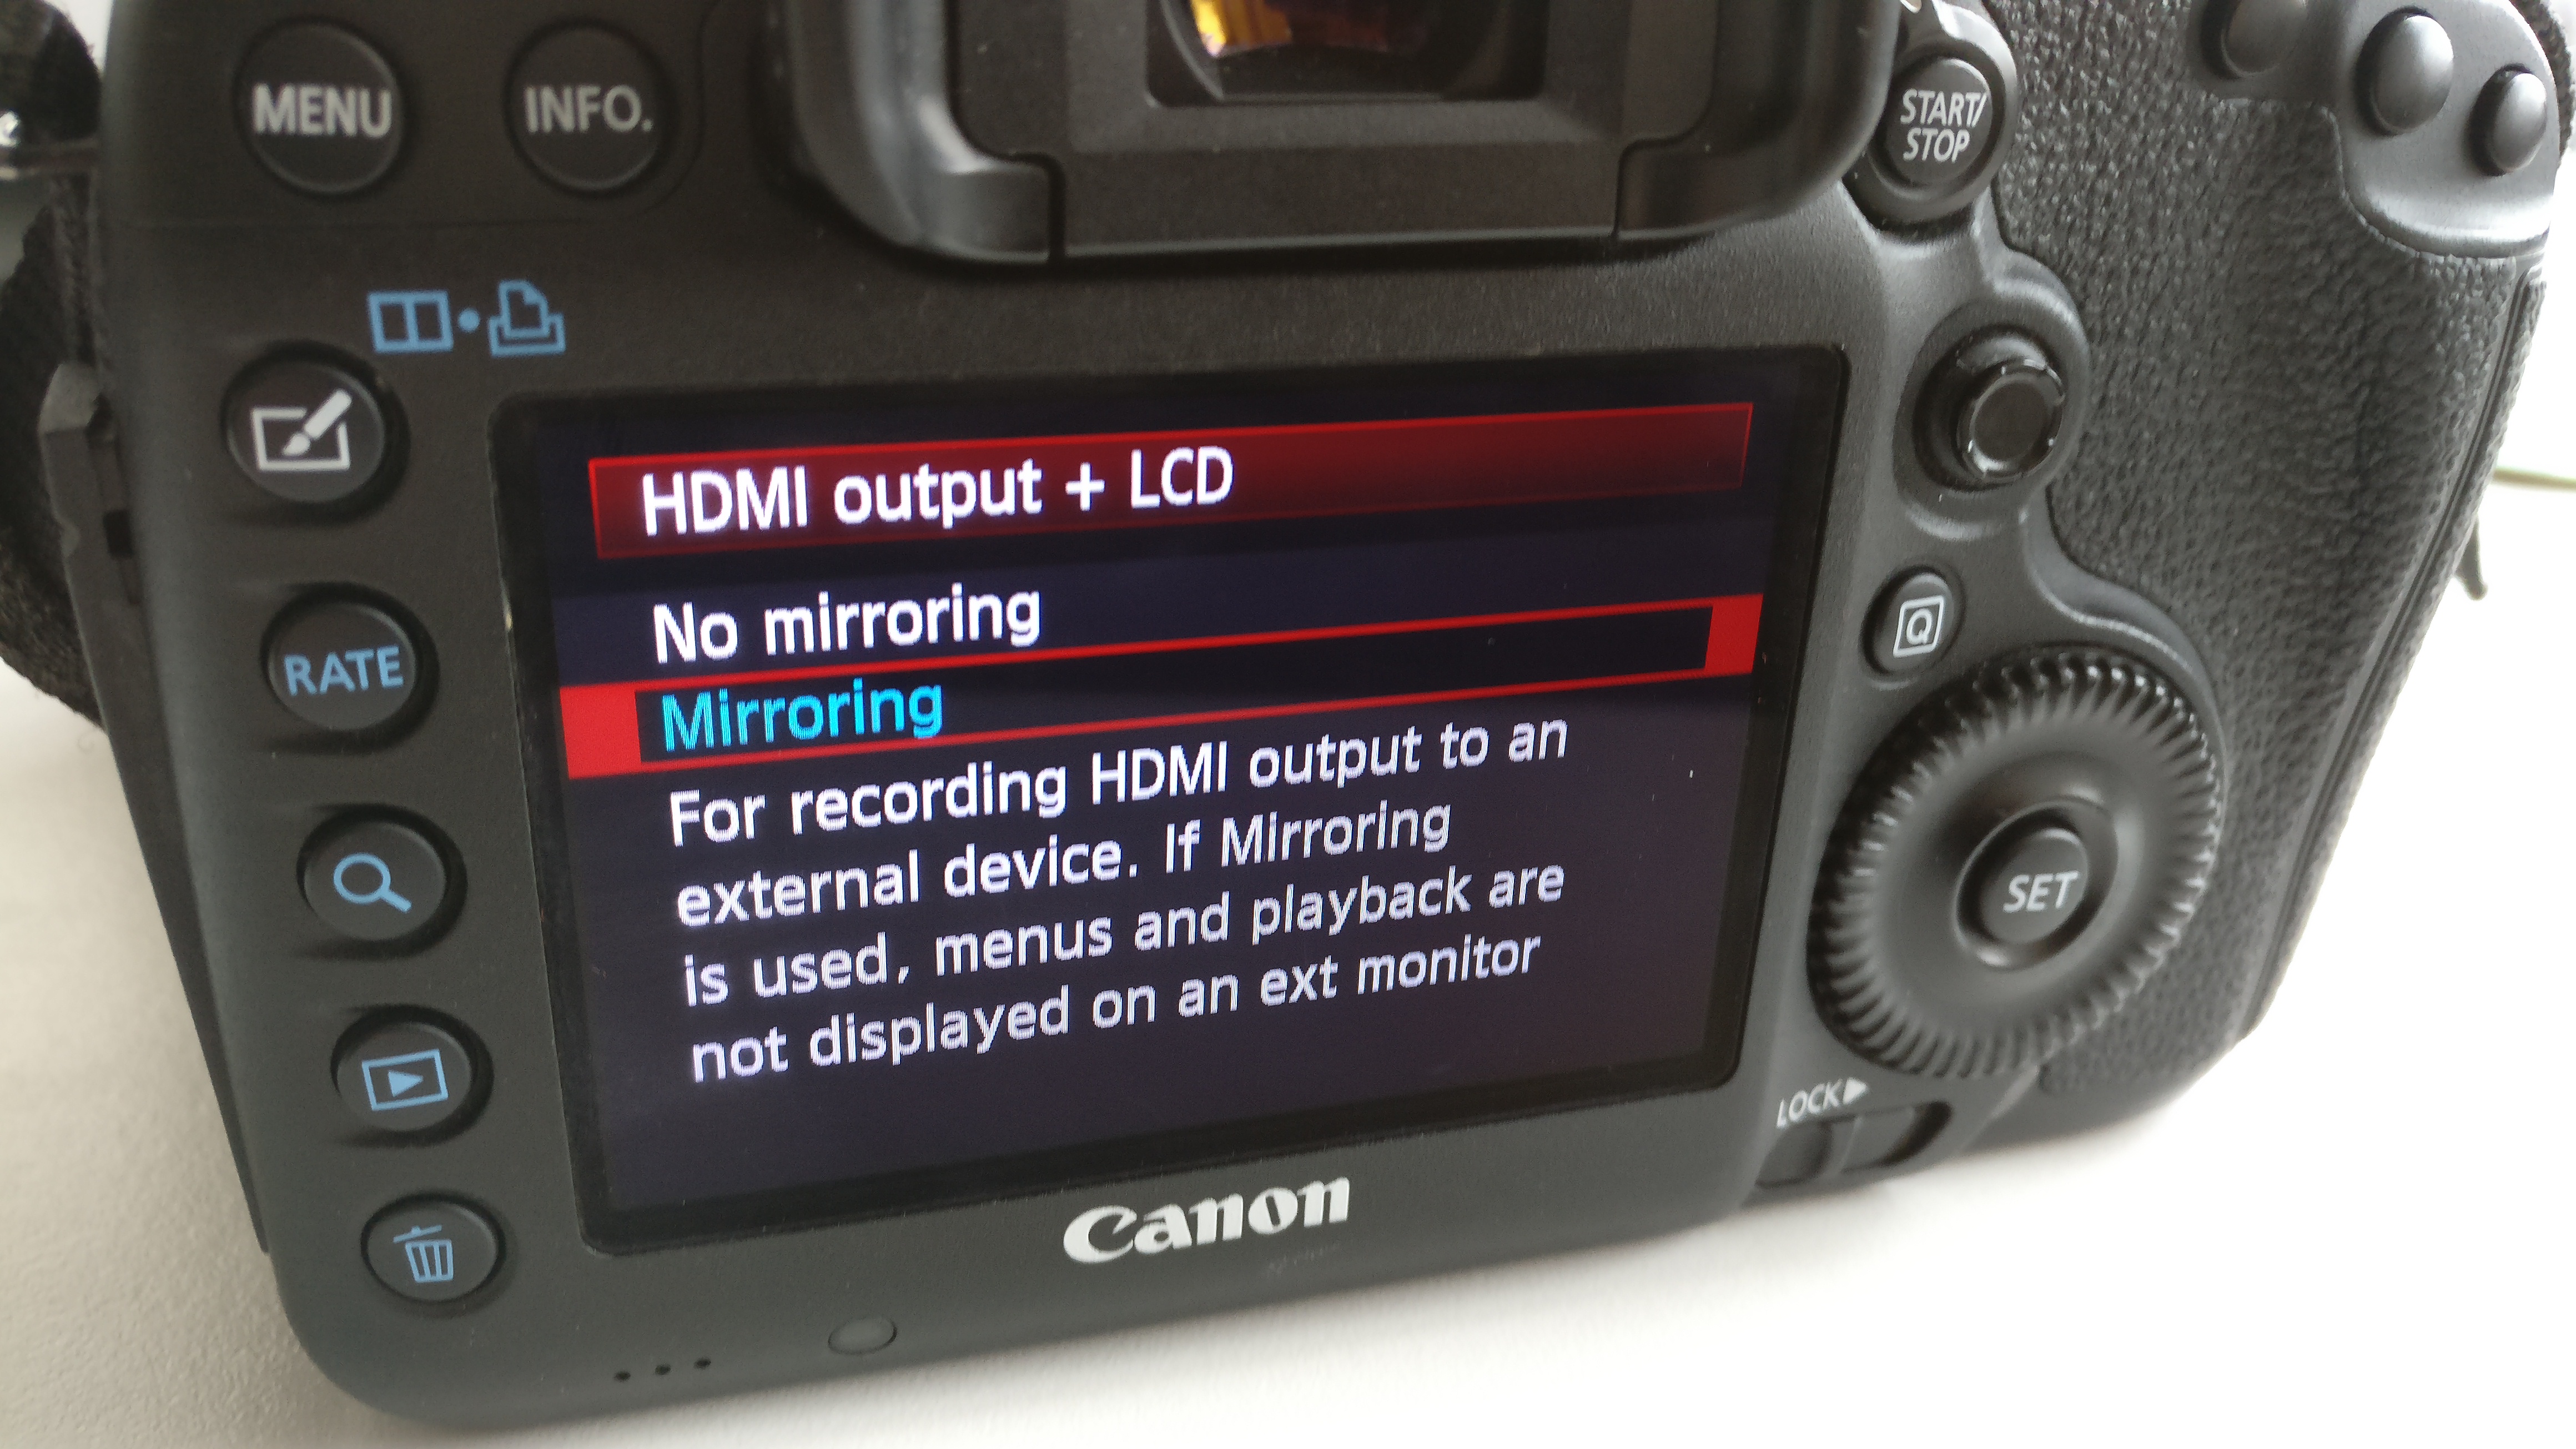
By default, the Canon EOS 5D Mark III outputs some information on top of the live HDMI video, including a big white focus rectangle. That needs to be deactivated in order to get a full-screen, clear image.

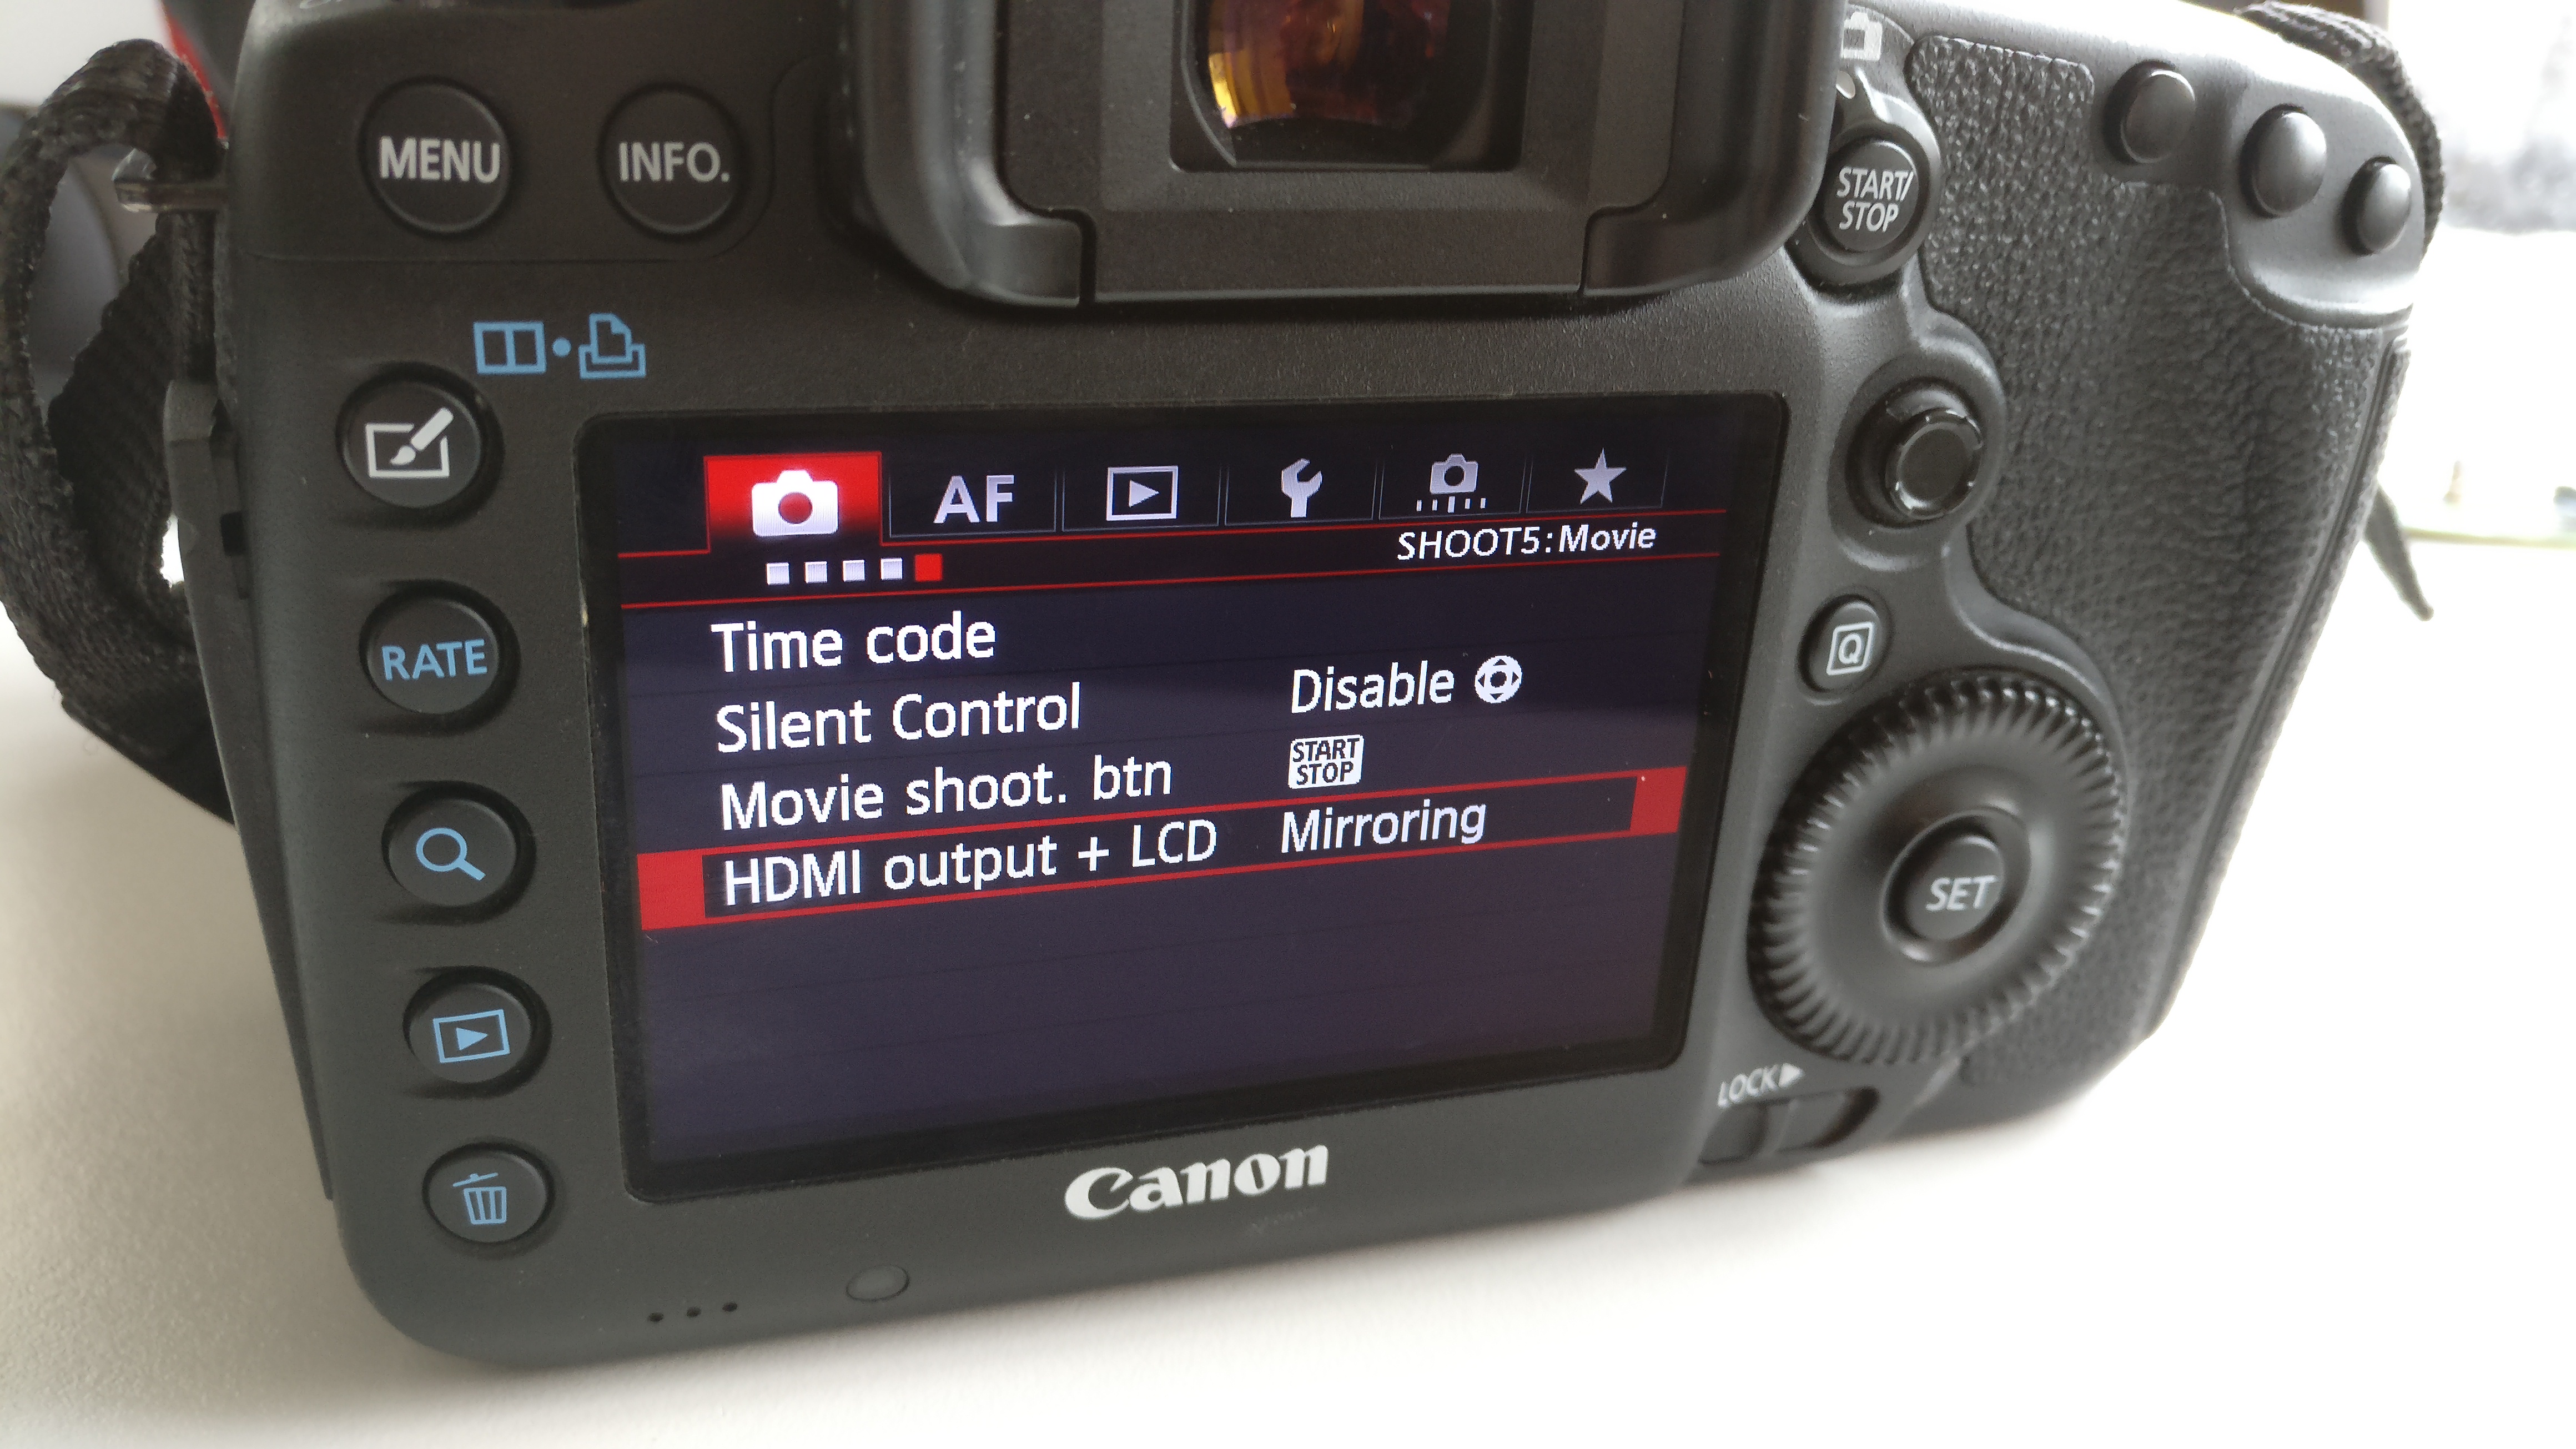
Switch the camera to movie mode, and in the camera settings menu, page “SHOOT5: Movie”, set “HDMI output + LCD” to “Mirroring”.

Categories
AR / VR HoloLens Windows

How to set up HoloLens Spectator View, Part 1 – 3D Printing, Tools and SDKs

We’re developing several HoloLens apps at the St. Pölten University of Applied Sciences, for example in the area of Healthcare and Radiology, as well as for Smart Engineering. For better demonstrations, the HoloLens Spectator View is crucial: it allows taking 3rd person photos and videos of people using the HoloLens app. That helps in understanding the overall scene setup and the interactions between users and the otherwise invisible holograms.

Step 1: 3D Printing the HoloLens Mount

Microsoft has released 3D printing files for the HoloLens mount, which allows fastening the HoloLens on a digital camera. They recommend using Aluminium for better stability. However, we do not have such a metal-based 3D printer, and using an external company would cost several hundred Euros. Therefore, we decided to go with the standard plastic 3D printing instead.

One issue with the current design is that it’s a bit too large for most 3D printers – the mount is a little bit larger than A4. Luckily, our old 3D printer was able to produce the correct size (3DTouch by Bits from Bytes).