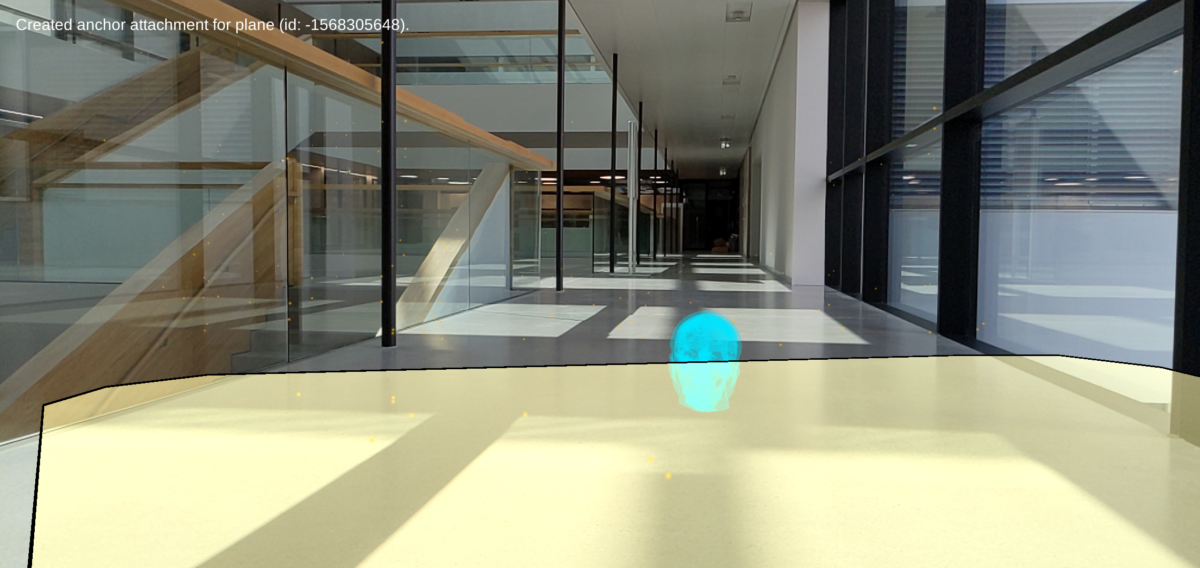
In the first two parts, we set up an AR Foundation project in Unity. Next, we looked at to handle trackables in AR. Now, we’re finally ready to place virtual objects in the real world. For this, we perform a raycast and then create an anchor at the target position. How to perform this with AR Foundation? How to attach an anchor to the world or to a plane?
Please accept YouTube cookies to play this video. By accepting you will be accessing content from YouTube, a service provided by an external third party.
If you accept this notice, your choice will be saved and the page will refresh.
AR Raycast Manager
If you’d like to let the user place a virtual object in relation to a physical structure in the real world, you need to perform a raycast. You “shoot” a ray from the position of the finger tap into the perceived AR world. The raycast then tells you if and where this ray intersects with a trackable like a plane or a point cloud.
A traditional raycast only considers objects present in its physics system, which isn’t the case for AR Foundation trackables. Therefore, AR foundation comes with its own variant of raycasts. They support two modes:
- Single, one-time raycast: useful for example to react to a user event and to see if the user tapped on a plane to place a new object.
- Persistent raycast: it’s like performing the same raycast every frame. However, AR platforms can optimize this scenario and provide better results. A persistent raycast is also a trackable through the
ARRaycastManager.
Performing AR Raycasts
Like when using point clouds and planes, you need to add the corresponding manager script – in this case the ARRaycastManager – to the ARSessionOrigin. This time, there is no default prefab available for visualization. Therefore, create a new script called ARPlaceHologram and attach it to ARSessionOrigin as well.
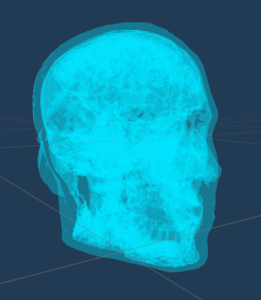
Next, choose a 3D model to place and convert it to a prefab. I’ve already prepared one: the model of a transparent skull. Simply download the unitypackage and import it to your Unity project.
AR Raycasting & Object Placement
When you use raycasting to perform object placement, you can both place an object on a plane, as well as on a feature point or any other trackable. Note that just placing the object in the Unity scene at the intersection point doesn’t anchor the object to the real world (yet!). This means that over time, its perceived position might slightly change, as it’s not attached to the physical object but instead placed in a virtual static coordinate system.
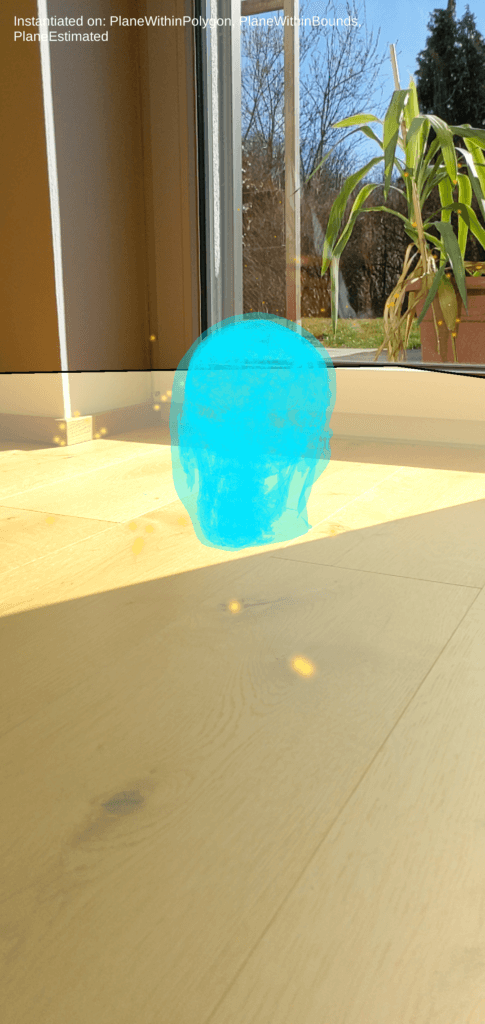
Prefab instantiated on an AR plane 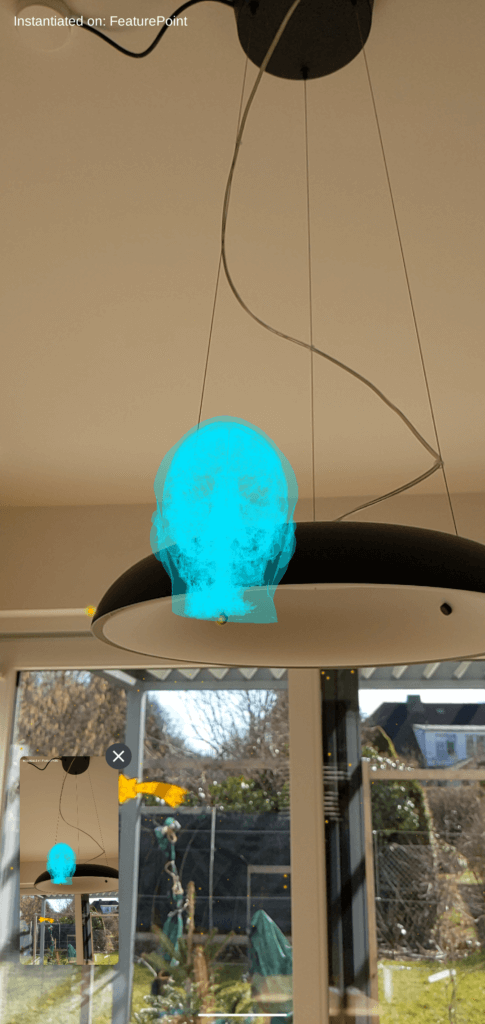
Prefab instantiated on an AR feature point
In this fully custom scenario, we will write our own script that performs a raycast when the user taps on the screen, and then uses the resulting position to instantiate the prefab.
Raycast: Let’s Start with Code!
Let’s start development the AR raycast code.
In the first section, we’re defining the member variables. So far, we need three: _prefabToPlace contains the 3D model we want to instantiate. Assign the transparent skull prefab through the Unity Editor. The [SerializeField] property ensures that it’s assignable from Unity, even though the variable is private.
We cache the ARRaycastManager from the ARCoreSession, so that we don’t need to retrieve it every single time. Our script assumes that it’s placed on the same GameObject as the raycast manager, which is the ARSessionOrigin. In Awake(), we retrieve the class instance.
The Hits list is reused by the raycast manager. To avoid instantiating and garbage collecting a list for every raycast, AR Foundation was designed in a way so that we provide an existing list object, which the raycast method then fills with all hits it found in the world.
Performing the Raycast and Instantiating the Prefab
In the next section, let’s look at the Update() method.
First, we check if a new touch event on the screen just began. If not, we immediately exit the Update() function again.
Next, we perform the raycast. The function returns true if it hit any valid target. For parameters, only need to provide the position of the touch event (in screen coordinates) and the Hits list that will be filled with intersections of the ray and trackables.
The last parameter lets you limit with what kind of trackables you want to interact with. In this case, it’s set to TrackableType.AllTypes, which includes both planes and feature points (and other trackables). You can of course limit this to what suits your scenario.
In case a hit was detected, our list will be filled with hit positions. This could potentially be multiple hits. As they are sorted by distance, it usually makes sense to only handle the closest hit, as this is where the user will want to place the object. The pose property contains the position and rotation of the trackable surface that the ray hit.
We can then directly forward this position information to Unity’s Instantiate() method, also providing the reference to the prefab for the 3D model to instantiate at that position.
To check on what kind of trackable we placed the object, a Debug.Log() statement prints out the hitType property.
Note that we have placed the 3D model at the Unity world position but have not anchored it to the AR world yet, so that it stays in place as the phone’s knowledge of the real world evolves.
AR Anchors
Placing holograms in the Unity coordinate system isn’t enough. You also need to keep the real and virtual world in sync. This is where anchors come into the game.
Holograms should be anchored to real world objects, instead of Unity’s “virtual world” coordinates. This corresponds to a pose in the physical environment. This pose is tracked by the XR device (e.g., ARCore or ARKit). The position is then updated in Unity through AR Session Origin. Therefore, our object should be a child of that.
Anchors in AR Foundation
AR Foundation offers two options for anchors:
- Create a generic anchor: simply add the
ARAnchorcomponent to your GameObject. The AR Foundation framework takes care of the rest. - Attach an anchor to a plane: the object is then directly glued to the plane. Create the anchor through
AttachAnchor()ofARAnchorManager.
You can find more information in the AR Foundation documentation. The following sample will extend the previous code that already performs the raycast and instantiates the prefab.
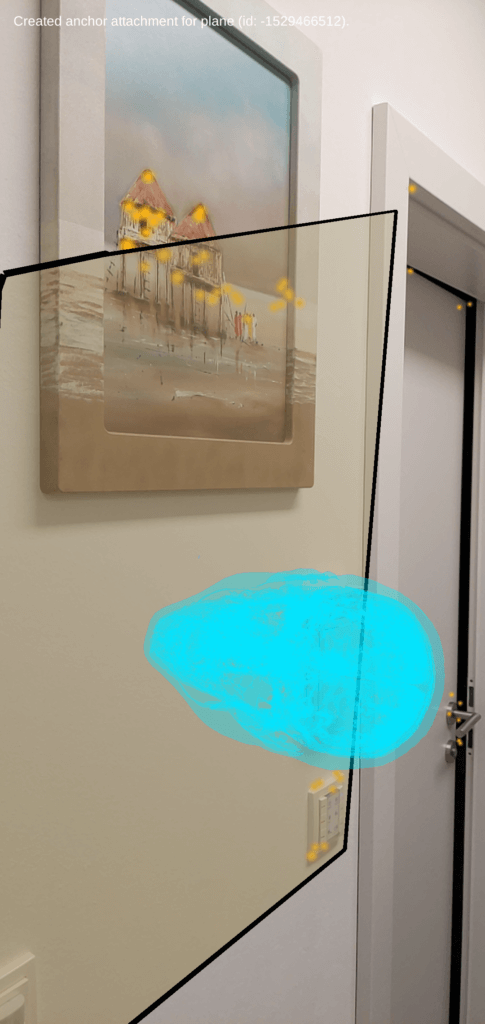
Hologram anchored to an AR Plane 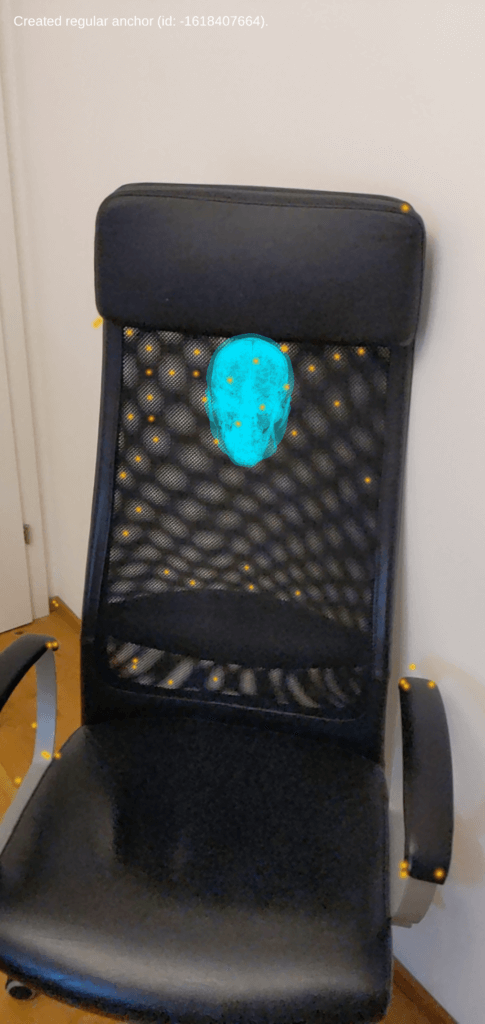
Hologram anchored to an AR feature point
AR Anchor Manager
Anchors are an additional AR Foundation feature. As such, we need to add the AR Anchor Manager to the AR Session Origin. If you plan to attach objects to planes, make sure you also have the AR Plane Manager in your scene and active.
We will extend our custom C# script ARPlaceHologram.cs to retrieve and store a reference to the AR Anchor Manager to use its functionality.
Generic Anchor in AR Foundation
For this type of anchor, you only supply the world position (in “session space”). The AR subsystem (e.g., ARCore or ARKit) is then responsible for finding suitable reference points in the real world (e.g., feature points) to anchor to.
How do you create these anchors? You simply add the ARAnchor component to your prefab. Done!
Let’s adapt our previous raycast and instantiating code. To make the code more flexible, create a custom method CreateAnchor(), which gets the raycast hit info as parameter.
At first, we create a prefab instance like before. Instead of blindly adding the ARAnchor component to the instantiated prefab, we first check if it’s not already there. This ensures the prefab doesn’t have it attached twice and makes our code safer. But that’s all: just adding the component already creates the anchor!
To use our new method, replace the Instantiate() call in Update() with our new custom method:
CreateAnchor(Hits[0]);Plane Attached Anchor
Anchoring an object to a plane is a bit weird in AR Foundation. You attach the anchor by using the AttachAnchor() method of the ARAnchorManager. It has two parameters: the plane to attach to, as well as the pose (in session space).
All managers in AR Foundation have a prefab reference which they instantiate when they’re used. This also applies to the AR Anchor Manager.
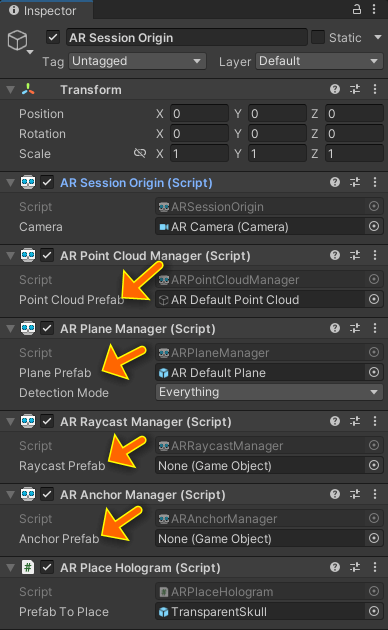
However, in a real-life AR app, you will usually want to instantiate different 3D models based on the current state of your app. Defining one prefab in the Unity editor isn’t very flexible. We also don’t want to permanently alter the manager configuration in code just to create a single anchor. Therefore, the following approach is recommended and used by the official AR Foundation sample:
- Cache the prefab reference of the AR Anchor Manager
- Assign the prefab we want to instantiate now
- Let the manager create our prefab
- Restore the cached referene afterwards
Create a Plane Attached Anchor
These are the main steps shown in the following code snippet. Update the CreateAnchor() method from before to extend it. It now automatically anchors to a plane if the raycast hit is this type of trackable. Otherwise, our method creates a generic anchor.
First, we check if the trackable provided by the ARRaycastHit is of type ARPlane. If it is, it’s automatically casted to a new local variable called plane, so that we can continue using it.
Next, we get the ARPlaneManager component, which is expected to be at the same AR Session Origin. If it’s found, we have everything we need in place.
First, we cache the prefab reference from the anchor manager in a temp variable called oldPrefab. Then, we replace it with our own prefab reference.
AttachAnchor() then instantiates the default prefab (that we just assigned) and creates the plane-attached anchor.
As the last step, we restore the cached prefab (oldPrefab) again. The anchoring is finished, so we return the anchor and leave the method. If no anchor was created (= the hit trackable isn’t a plane or we didn’t find the AR Plane Manager), the method proceeds creating a regular anchor.
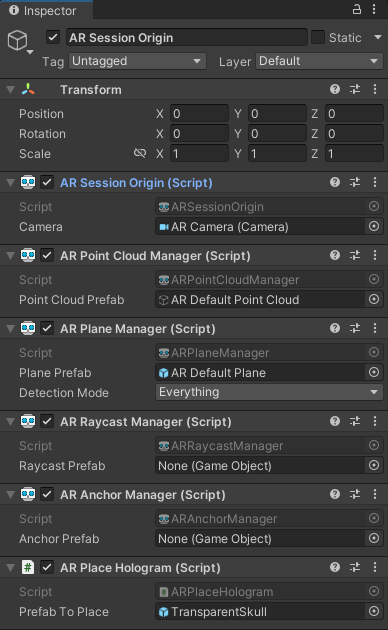
For reference, check out the complete code of ARPlaceHologram.cs on GitHub.
Tips for Working with AR Anchors
Avoid using global coordinate systems. Once you anchor an object, its world coordinates in Unity can change every time the AR Subsystem learns more about its perception of the real world.
Ensure that you keep the virtual objects close to the anchors. In other words, don’t use the GameObject’s transform to translate the object far away from its anchor. If objects are related to each other and close by, it’s often better to use the same anchor so that the relationship between the objects doesn’t get altered over time.
Summary and Next Steps
Following all three parts of the tutorial so far, our app perceives the real world, performs a raycast upon a tap on the screen and anchors a hologram. This ensures that it stays in place in the physical space.
Download the complete demo code and all the assets from GitHub.
In the final step, we will look at 2D image tracking. This allows you to automatically place 3D models on top of recognized 2D images in the real world. Especially for environments you control, this is a scenario that’s easy to use for people new to AR as holograms appear automatically at the intended position. It works especially well for use cases like museums.
AR Foundation Article Series
A hands-on tutorial which guides you through your first AR Foundation app. Start with a new Unity 3D project. Understand its architecture with trackables and managers. Use Plane and Point Cloud detection. Perform raycasts and create anchors in the real world or on planes. Plus: place 3D models on printed 2D images that your app tracks in the real world.
