Based on the 4-part tutorial where we segmented the brain from an MRI image, one of the most interesting application areas is printing such 3D models. In that sense, it makes no difference if the data is coming from an MRI (e.g., a brain or tumor), CT (e.g., the skull) or ultrasound. In this article, we’ll look at how to prepare the 3D model for 3D printing.
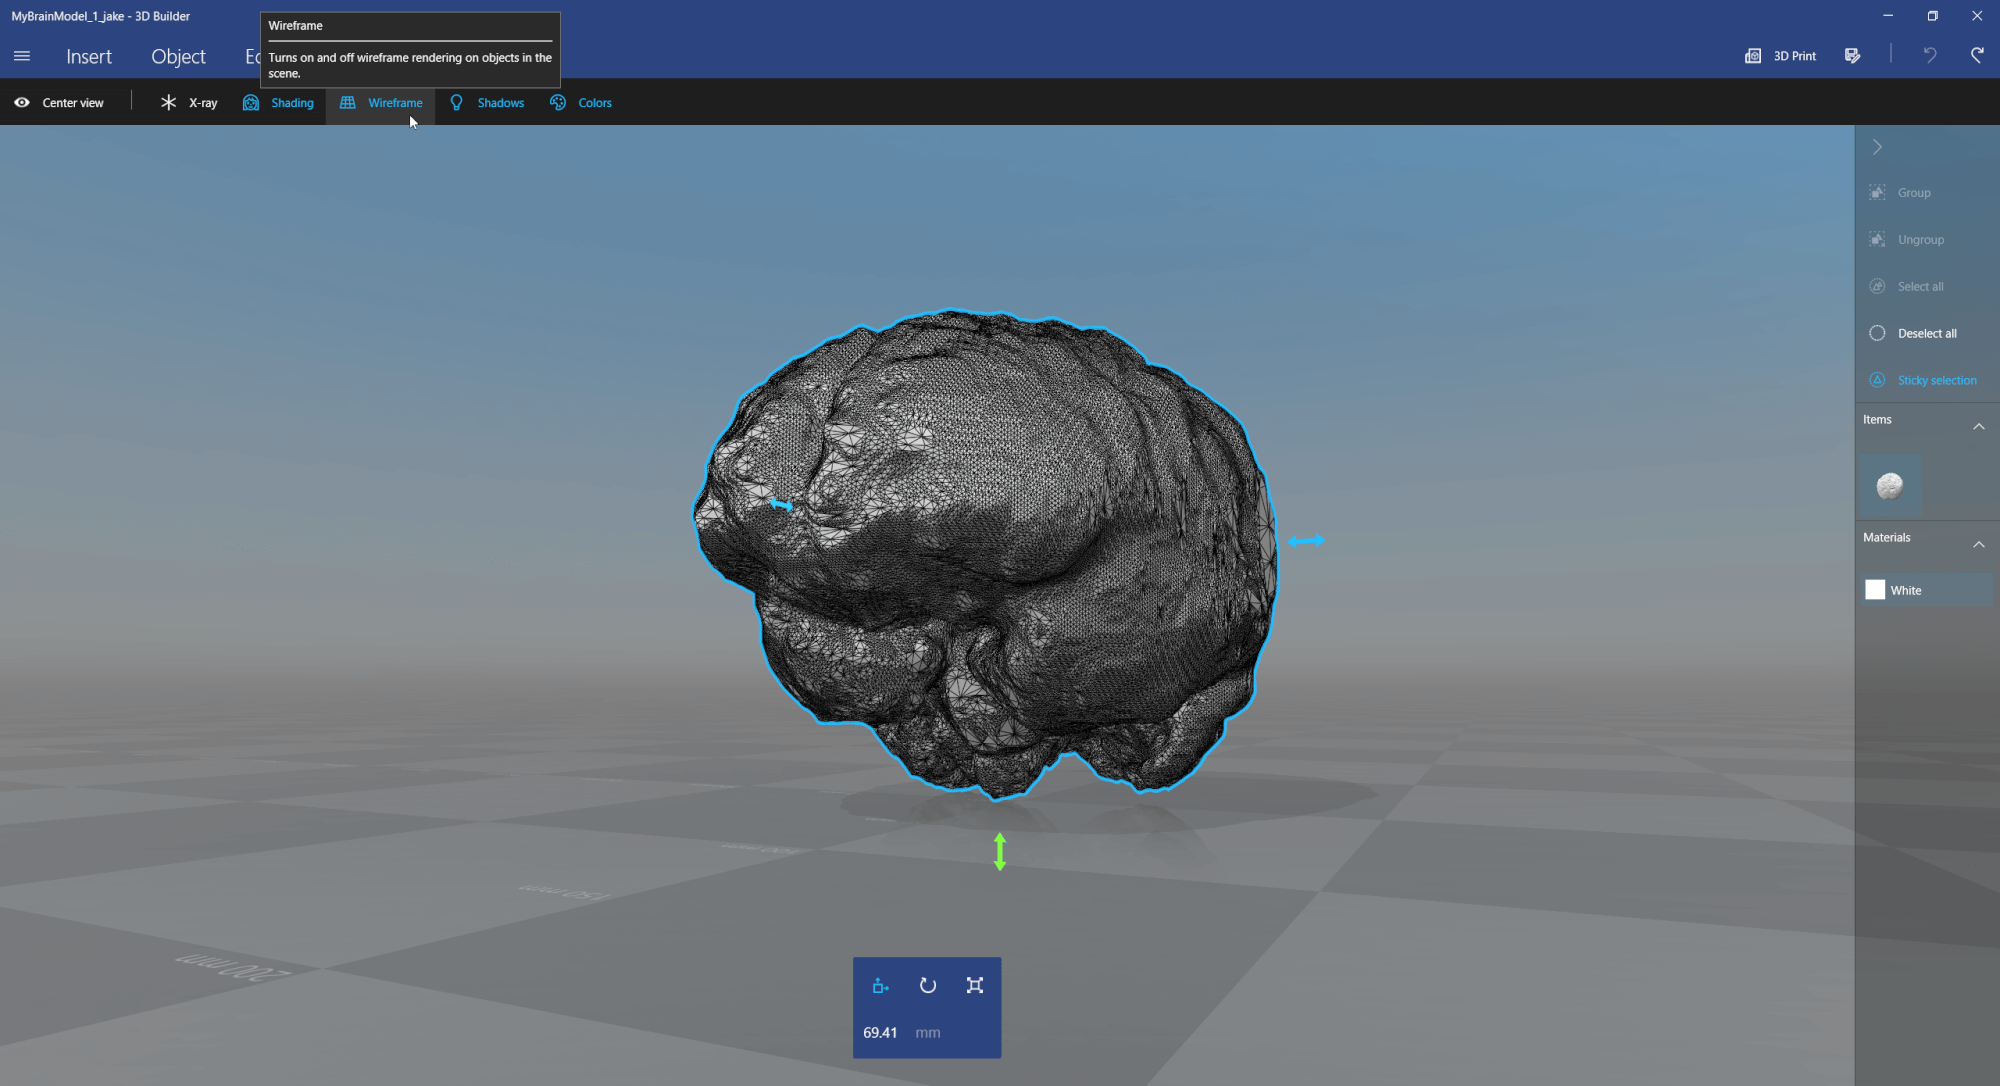
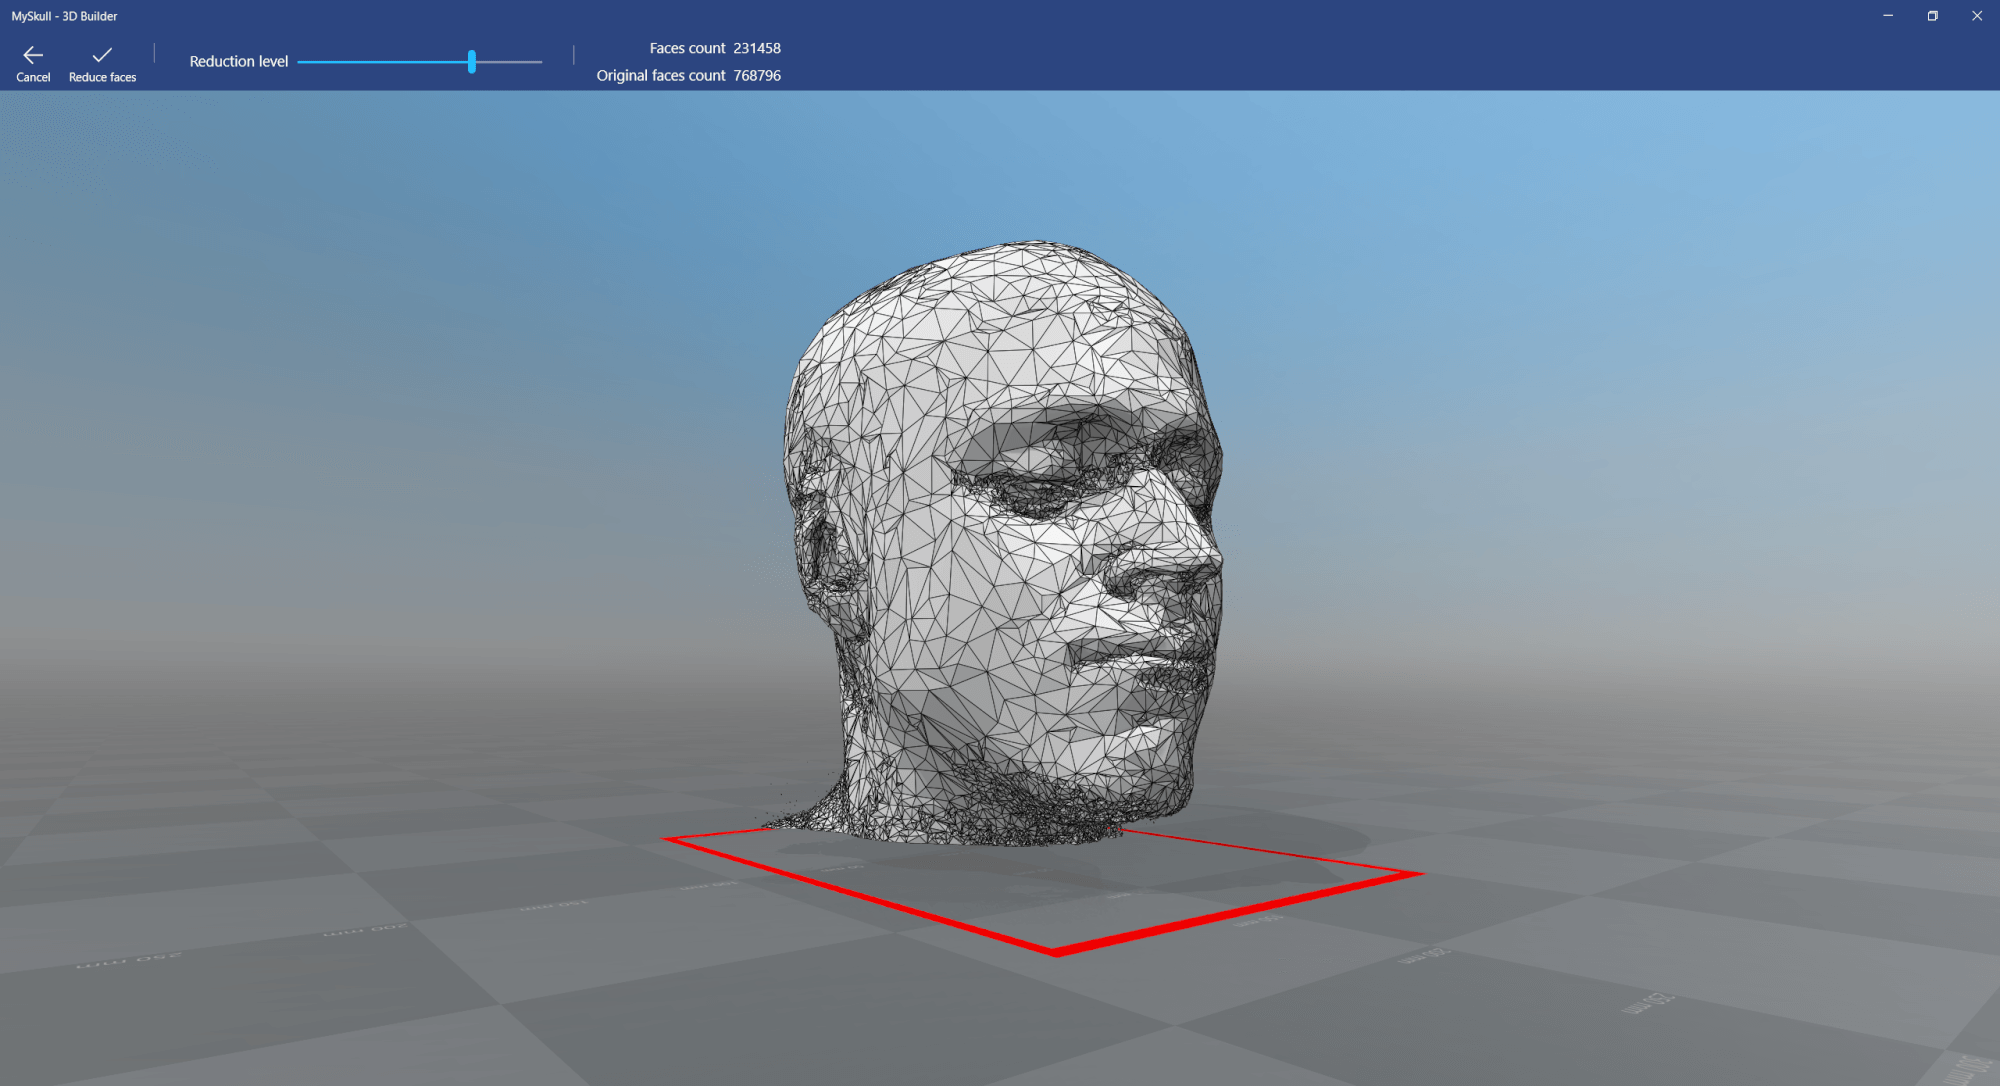
In the preparation phase, we segmented the model from the original DICOM medical data using 3D Slicer. Afterwards, we reduced the level of detail using the built-in tools in Windows 10.
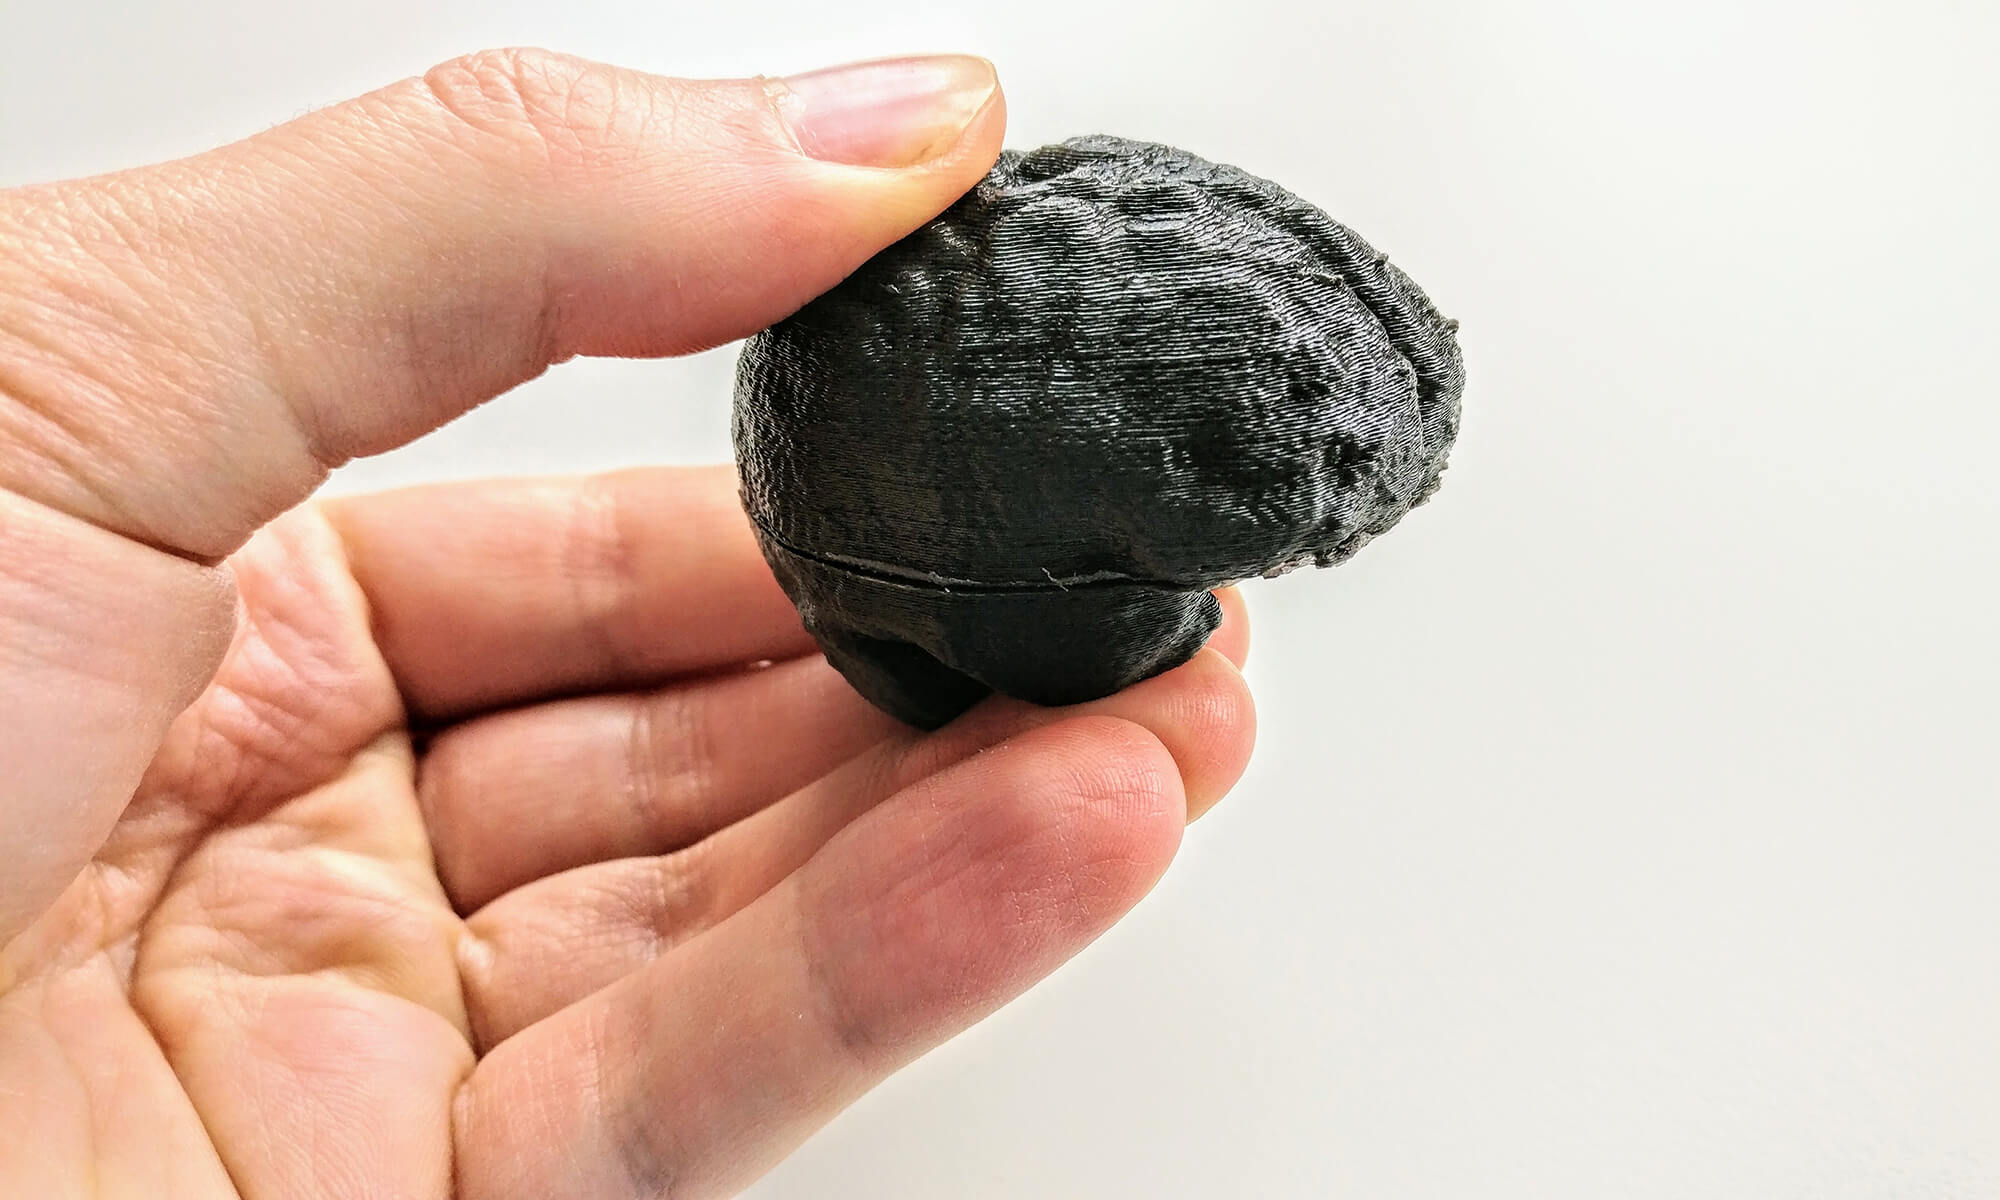
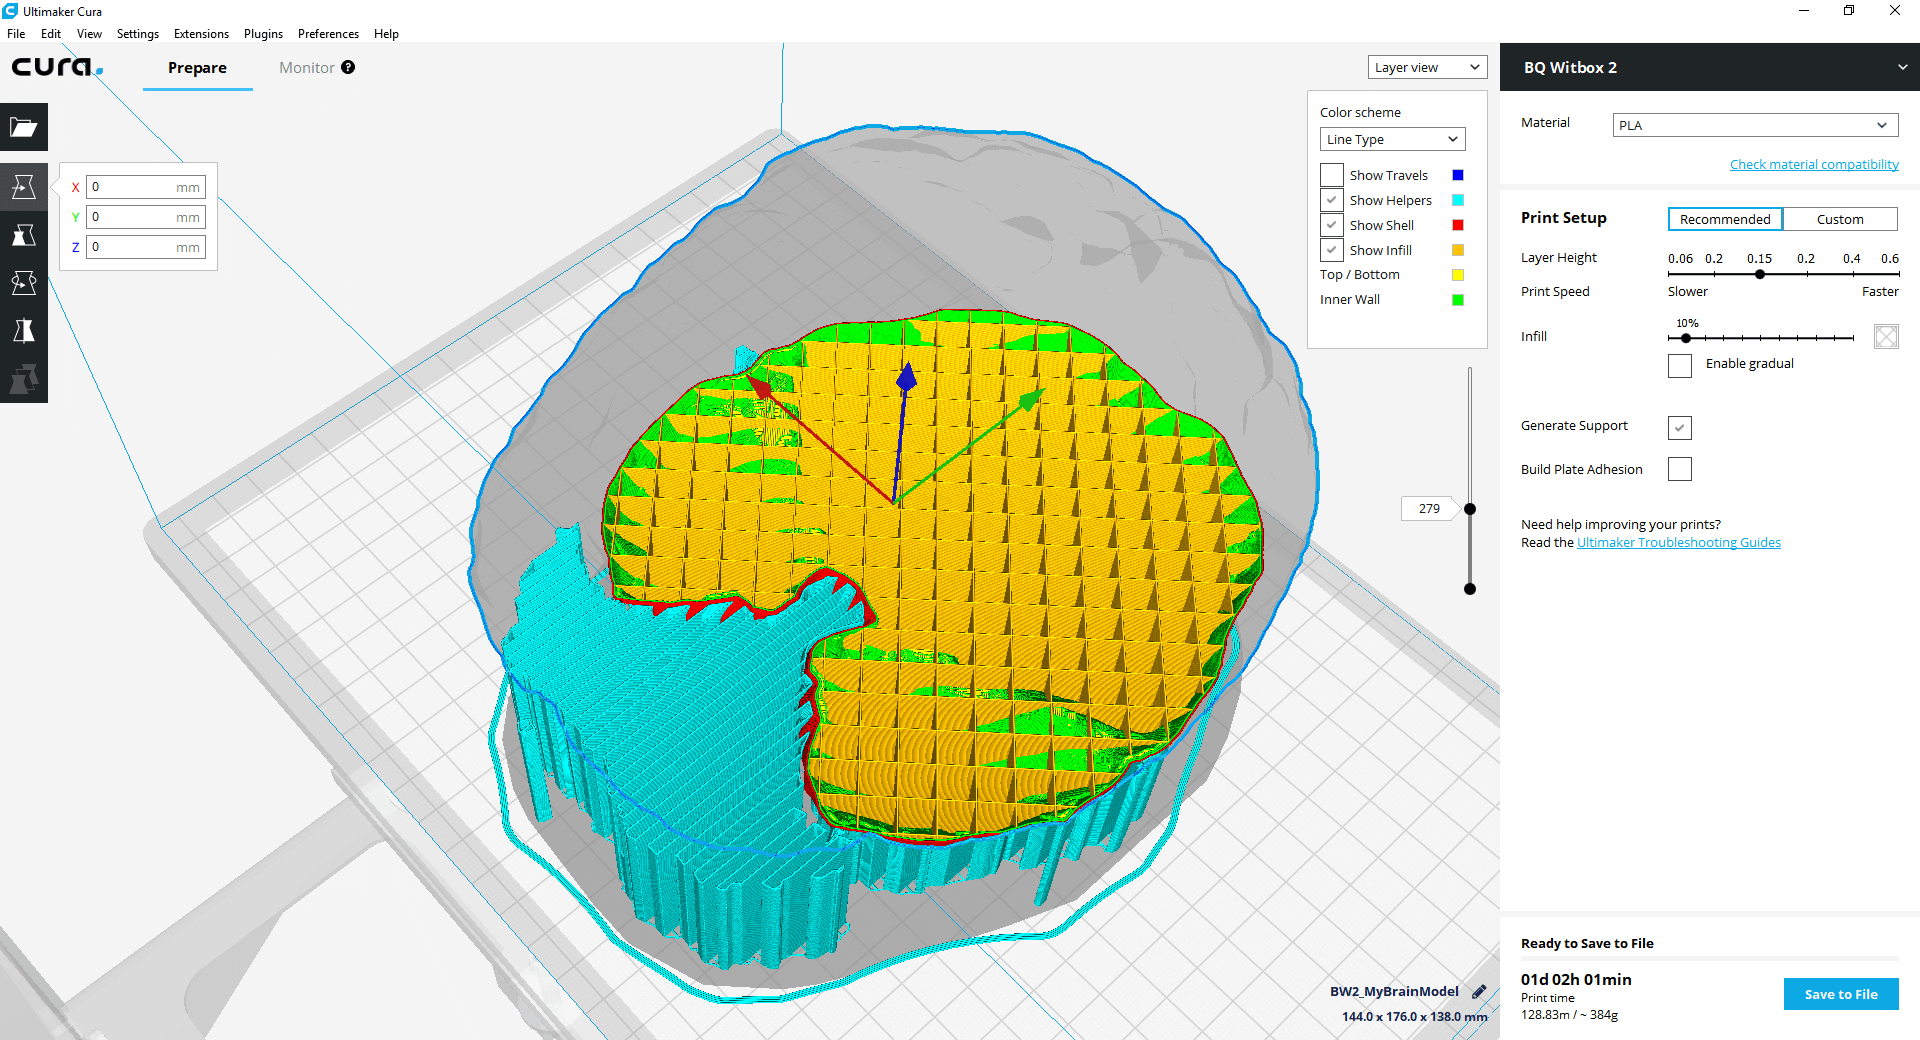
In this part, we print the MRI brain model using the Witbox 2 3D printer with plastic and deal with support structures. The aim is to make this process accessible for everyone – so you don’t need specialized and expensive software & hardware; we’ll instead use open source and free tools as much as possible.
Special thanks to Christoph Braun from the FH St. Pölten, who is the resident 3D printing expert and prepared the steps to produce the amazing results!
